If you are running into problems with your UltraMixer video playback, you will find a checklist for checking your UltraMixer settings here. Please note: “Never touch a running system!” So don’t change anything if everything seems to be working fine with your setup.
If you still don’t get your videos going after adjusting your settings, send our support an email with your logfiles – we’ll be happy to find a solution for you.
Step 1: Turn on video mode #
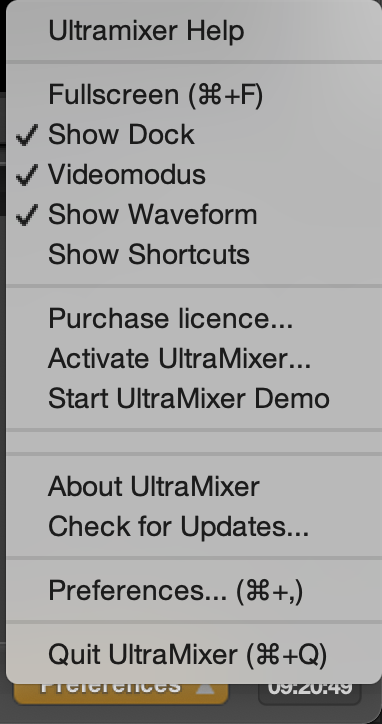
In the lower right corner of UltraMixer, you will find the “Preferences” button. Click on it once and a context menu will open. Above you will find an entry for “Video mode”. Set the check mark to enable video mode.

Step 2: Check your crossfader #
A quick check: is your crossfader pushed all the way to the left or right side? Have you perhaps activated the independent video crossfader in the UltraMixer video settings? If this is positioned in the middle, then the transition effect between players 1 and 2 is active and you get a black, pixelated, or washed-out picture depending on the effect selected.
Step 3: Maximum frame rate and Maximum Image buffer #
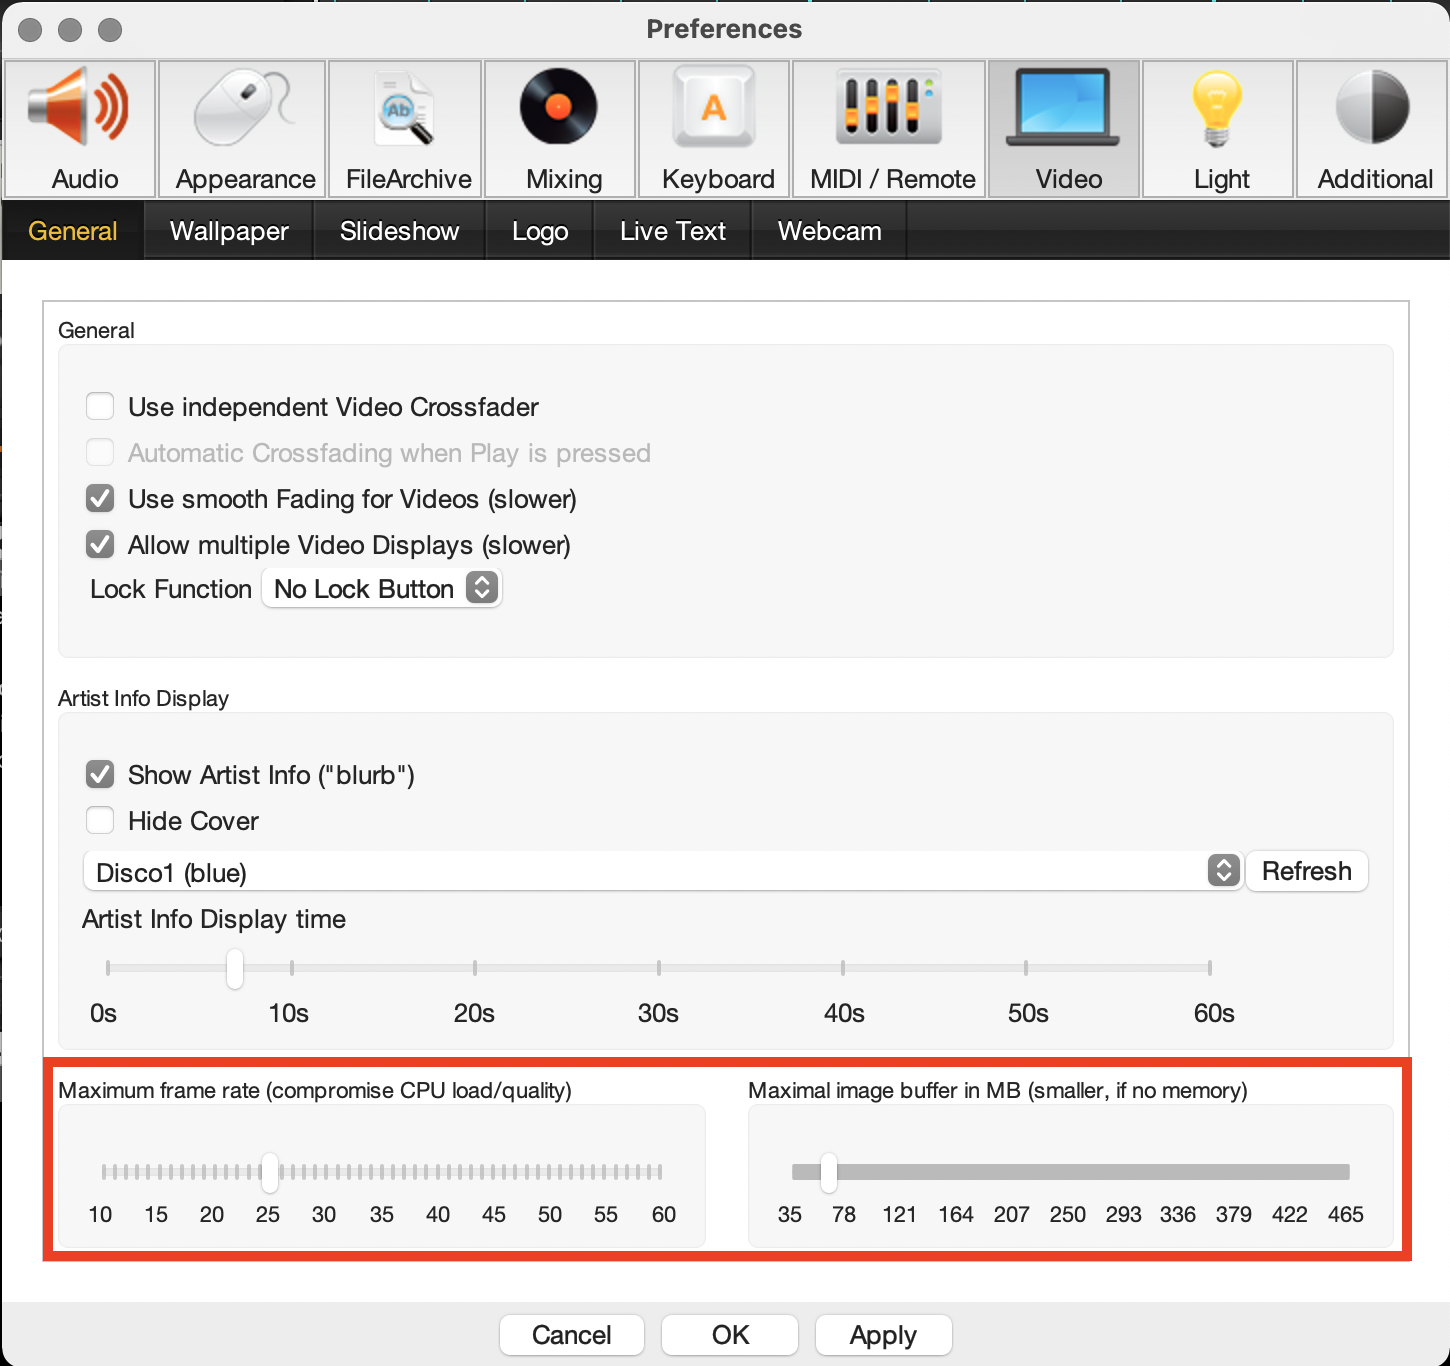
Depending on the performance of your graphics card, you may have to adjust the video buffer and the frame rate in the UltraMixer settings. Here you have to test which setting works best for your system – neither too high nor too low is optimal. If you are using a more modern computer with a good graphics card – then try higher values. If you have a less powerful graphics card, you have to set the values lower.

Step 4: Update graphics card driver #
Please check your graphics card for the latest driver updates on the manufacturer’s website.
Step 5: Video Formats #
If the previous steps have not yet led to the solution – check whether your video files are MOV or MP4 files in H263 or H264 format. Please also check if your files have any write protection enabled, and disable those.
Step 6: Video Sample Issues #
If your video files are not working in your video sampler, you might want to try and reset your SampleBank. Please note that you will have to set up your SampleBank manually from the scratch, one by one slot.
Step 7: Re-Install UltraMixer #
If none of the previous steps solved the problem, you might want to start fresh, delete some UltraMixer files manually, and re-install the software with the latest available Version from our Website. Please read the step-by-step guide in this article.


